LiftMaster Garage Door Opener Installation: A Complete Step-by-Step Guide


LiftMaster garage door opener installation means assembling the rail, mounting the motor unit above the door, and connecting the trolley to the door arm. You then fit the safety sensors, wire the wall control, and set the belt or chain tension. Finally, you program the remotes, set the travel limits, and test the auto-reverse safety system before regular use. Most confident DIYers finish in one afternoon.
This guide follows the order most manuals use. Read your model manual alongside it, because bracket shapes and button layouts vary. One rule never varies, though. A good LiftMaster garage door opener installation starts with a door that already works well by hand.
What Tools and Parts Do You Need for LiftMaster Garage Door Opener Installation?
You need basic hand tools, a drill, a ladder, and the parts supplied in the opener box. Gather everything before you start. Lay the rail sections, trolley, and hardware out on the garage floor. Checking parts first prevents a half-finished job with the door stuck open.
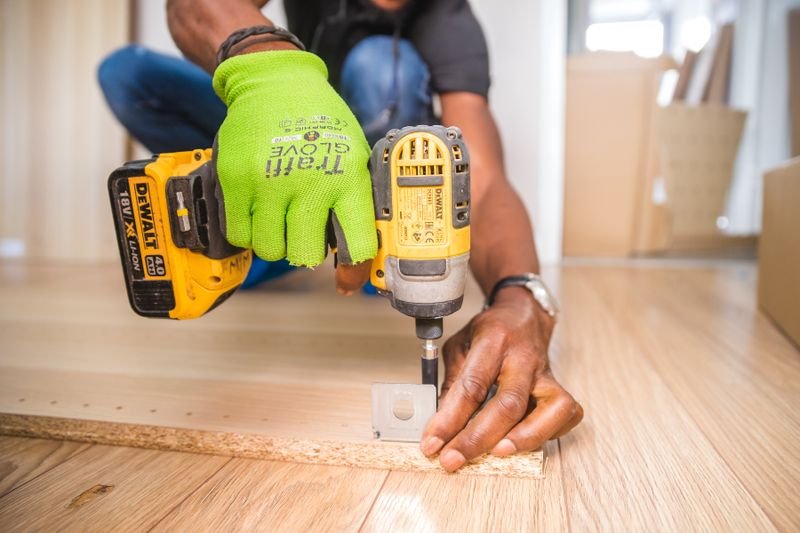
Gather these tools first:
- Cordless drill and drill bits
- Socket wrench and sockets
- Adjustable wrench
- Screwdrivers, flat and Phillips
- Tape measure and pencil
- Level
- Sturdy step ladder
- Hammer and pliers
- Wire strippers and electrical tape
- Safety glasses and work gloves
Then check the box for these parts:
- Rail sections and connectors
- Motor unit, also called the power head
- Belt or chain
- Trolley
- Straight and curved door arms
- Header bracket and door bracket
- Safety sensors and sensor brackets
- Wall control and insulated wire
- Remote controls, plus a wireless keypad if included
- Lag screws, bolts, and clevis pins
Keep the manual within reach as you sort. If a part is missing or bent, pause and contact the seller. Do not swap in random hardware from a drawer. Brackets and pins carry real loads every day.
What Safety Steps Come Before You Start?
Safety comes before speed on this job. Unplug any old opener and keep the door closed while you work. Never touch the torsion springs or the cables beside them. Those parts hold the door’s weight. A mistake there can cause serious injury fast.
Say it plainly: torsion springs are dangerous. Do not adjust, loosen, or remove them. Do not touch the bottom brackets or the cables under tension either. If a spring looks broken or rusty, stop. Call a garage door professional for that part.
Test the door balance first. With any old opener disconnected, lift the door by hand to halfway. It should stay near that spot without drifting hard. It should also feel smooth, not heavy. A door that slams or sticks has a spring or track fault. An opener cannot fix that fault.
Keep power off until the wiring is done. Plug the unit into a grounded ceiling outlet when finished. Avoid a loose extension cord as a permanent supply. If no outlet sits within cord reach, an electrician should fit one. Also line up a helper before lifting day. The motor unit is awkward, not just heavy.
Check the door itself, too. Cracked panels or bent tracks change the plan. Our guide to what prompts a homeowner to replace a garage door rather than repair it helps you decide first.
How Do You Install a LiftMaster Garage Door Opener, Step by Step?
Install the opener in a fixed order. Build the rail first, then fix the header bracket above the door. Hang the motor unit, connect the trolley and door arm, and fit the sensors. Wire the wall control last, then set the drive tension.
Step 1: Assemble the Rail
Lay the rail sections on a flat floor. Join them in the order your manual shows. Fit any rail connector fully before tightening. Slide the trolley onto the rail now, while everything sits low. Feed the belt or chain through as directed. Keep the drive sprocket end clear for the motor unit. Check the trolley slides freely along the full rail.
Step 2: Fit the Header Bracket
Find the center of the door and mark it. Extend that line up the wall above the door. The header bracket sits on that line, above the top section. Its height follows the manual and your door’s travel. Fix it with lag screws into solid framing. Screws into drywall alone will pull out. Tug the bracket hard before you trust it.
Step 3: Mount the Motor Unit
Rest the motor unit on a tall ladder. Lift the rail end and pin it to the header bracket. Swing the motor up until the rail looks level. Hang the unit from the ceiling joists with the supplied straps or angle iron. Nothing should fix to drywall alone here either. Level the rail, then tighten every hanger bolt. The unit should feel solid when you push it.
Step 4: Connect the Trolley and Door Arm
Fit the door bracket at the center of the top section. Reinforce thin doors as the manual directs. Connect the straight arm to the trolley. Connect the curved arm to the door bracket. Join the two arms with the door fully closed. Use the clevis pins and clips supplied. The joined arms should pull the door, not push it sideways.
Step 5: Fit the Safety Sensors
Mount one sensor on each side of the door. Keep them low, no more than six inches above the floor. Aim the eyes straight at each other. Run the wires up and across to the motor unit. Staple them neatly, away from moving parts. When powered, both sensor lights should glow steady. A flickering light means the aim is off. LiftMaster publishes manuals and safety guidance on LiftMaster’s official site if your paper copy goes missing.
Step 6: Fit the Wall Control
Mount the wall control inside the garage, near the entry door. Place it where you can watch the door while using it. Fit it at least five feet above the floor. That height keeps it out of small children’s reach. Run its wire to the motor terminals shown in the manual. Match the terminals exactly, then tug each wire gently.
Step 7: Set the Belt or Chain Tension
Adjust the tension last, following your manual’s method. A belt should sit firm, with no visible sag or twist. A chain usually keeps a slight, even sag. Do not crank either one drum tight. Excess tension strains the motor and the sprocket. Run the door twice and listen. Squeaks or jerks mean something still needs attention.
How Do You Program Remotes and a Keypad?
Programming takes minutes on most LiftMaster openers. Press the Learn button on the motor unit, then press the remote button within the time window shown in your manual. For a keypad, enter a new PIN and send it to the opener. Test every control from outside.
Start with the handheld remotes. One Learn press puts the opener into pairing mode. Press the chosen remote button until the opener light blinks or clicks. Repeat for each extra remote. Then do the keypad. Mount it after pairing, not before, so you can work close to the unit.
Moving into a new home? Erase the old codes first. Most models clear memory when you hold Learn until its light goes out. Check your manual for the exact step. Then pair only your own remotes and set a fresh PIN. Many Wi-Fi models also pair with the maker’s phone app. Follow the app prompts for alerts and remote opening.
Finish with the travel limits and force. Your manual gives the button sequence for your model. Set the door to stop just clear of the floor seals. It should also open fully without slamming the stop bolt. Small steps beat big turns here. Test after each small change.
How Do You Test the Auto-Reverse Safety System?
Test the safety system before you rely on the opener. Place a flat board on the floor under the door and close the door onto it. The door should reverse soon after contact. Also wave an object through the sensor beam while closing. The door must reverse then, too.
Use a two-by-four laid flat for the contact test. That is the board most manuals name. Start the close cycle and watch the bottom edge. Contact should trigger a quick reversal to fully open. If the door keeps pushing, stop using it. Adjust the limits and force as the manual directs, then test again.
Run the beam test next. Break the sensor beam while the door closes. The door should reverse at once. Also try starting a close with the beam blocked. The opener should refuse and flash its lights. Repeat both safety tests monthly. A quick test catches dirty or knocked sensors early.
Clean up once testing passes. Coil spare wire, store the manual nearby, and clear the floor. Dust from drilling travels indoors on shoes. If your home has cork inside, our guide on how to clean cork flooring covers safe, gentle cleaning.
What Fixes the Most Common LiftMaster Problems?
Most faults after a new install trace back to alignment, power, or limits. Check the sensor eyes first when the door reverses for no clear reason. Check power and the trolley if the motor only hums. Work through the table below in order before changing force settings.
| Problem | Likely cause | First fix |
|---|---|---|
| Door reverses before closing | Sensors blocked or misaligned | Clean and align the eyes until both lights hold steady |
| Door reverses on the floor | Close limit set too far | Reset the travel limits per the manual and retest |
| Opener hums, door stays still | Trolley released, gear worn, or door jammed | Reconnect the trolley and check the door moves freely by hand |
| Remote range is very short | Weak battery, antenna down, or bulb interference | Fit a fresh battery, hang the antenna straight, try another bulb |
| Lights flash, door will not close | Sensor or wiring fault | Check sensor wires and terminals at the motor unit |
| Door starts, then stops | Force too low or a binding track | Check rollers and tracks first, then adjust force slightly |
Change one thing at a time. Retest after each change. If the door itself binds or a spring fails, stop there. Those faults sit outside opener settings, and they need a professional.
How Much Does LiftMaster Garage Door Opener Installation Cost?
Costs split into the opener itself and the fitting. Typical US ranges put many belt and chain drive units between about $200 and $450, before installation. Professional fitting often adds a similar amount again. Treat every figure here as a typical range, not a quote.
| Item | Typical US range |
|---|---|
| Chain-drive opener unit | $150 to $300 |
| Belt-drive opener unit | $250 to $450 |
| Smart or wall-mount opener unit | $400 to $650 |
| Professional installation labour | $250 to $550 |
| Extras, such as an outlet or disposal | $50 to $200 |
Doing it yourself removes the labour line. You still need the tools, a helper, and your time. Quotes vary with region, door size, and ceiling height. Get the scope in writing before anyone starts. Our home renovation guide shows how to hold a contingency for surprises like these.
Should You Do It Yourself or Hire a Professional?
Do it yourself if the door is balanced, the springs are sound, and you can lift the motor unit safely with a helper. Hire a professional if anything involves springs, cables, or a door that will not lift smoothly by hand. The opener cannot fix a faulty door.
A professional brings judgement as well as tools. Pros spot worn rollers, tired springs, and tired doors quickly. Many fits finish in a single visit. That speed matters when the garage holds your car overnight. Price the visit against your weekend and your confidence. Either way, a careful LiftMaster garage door opener installation pays off daily.
Frequently Asked Questions
How long does LiftMaster garage door opener installation take?
Allow an afternoon for a first attempt. Reading the manual and sorting parts takes real time. Confident DIYers often finish faster the second time. A professional usually completes the same work in a single, shorter visit.
Can I install a LiftMaster opener on any garage door?
Most sectional doors suit a standard opener. One-piece doors and low ceilings may need adapter kits. Check the manual’s door types before buying. The door must also balance well by hand. No opener should drag a faulty door.
Do I need new springs when I fit a new opener?
No, not by default. The springs lift the door, while the opener only guides it. Worn springs still need replacing, though. That job belongs to a professional. Never adjust torsion springs yourself.
Why does my new opener reverse right away?
Misaligned sensors cause most early reversals. Dirty sensor eyes come second. Check both lights hold steady and nothing blocks the beam. Then check the close limit setting. Retest with the board test after any change.
Can I control a LiftMaster opener from my phone?
Many current models include Wi-Fi and an app. Older openers may need a smart hub add-on. Check your exact model’s feature list. App control also sends open and close alerts, which many owners value.
What should I do when the power goes out?
Pull the red release cord to free the door. Lift the door by hand, slowly and evenly. Keep fingers clear of the panel joints. When power returns, re-engage the trolley as your manual shows. Test one full cycle afterwards.
Related Guides
More garage door guides are on the way, covering remotes, sensors, and upkeep in depth. Until they land, start with our home renovation pillar for wider project planning. It covers budgets, trades, and the order jobs should run in.